Recently, I on a Google Hangout with a coworker and saw him using the Burp Suite. I noticed that he opened a text file containing the command to run burp with extra memory, so he could remember the shell command easily. I personally just ran the burp jar file by double-clicking the jar file. The only exception was when I did need that extra memory. In that situation, I had to look up the arguments on Google. I wanted a more ’native’ feeling to launching the Burp Suite, and this post should document the process I found that worked for me.
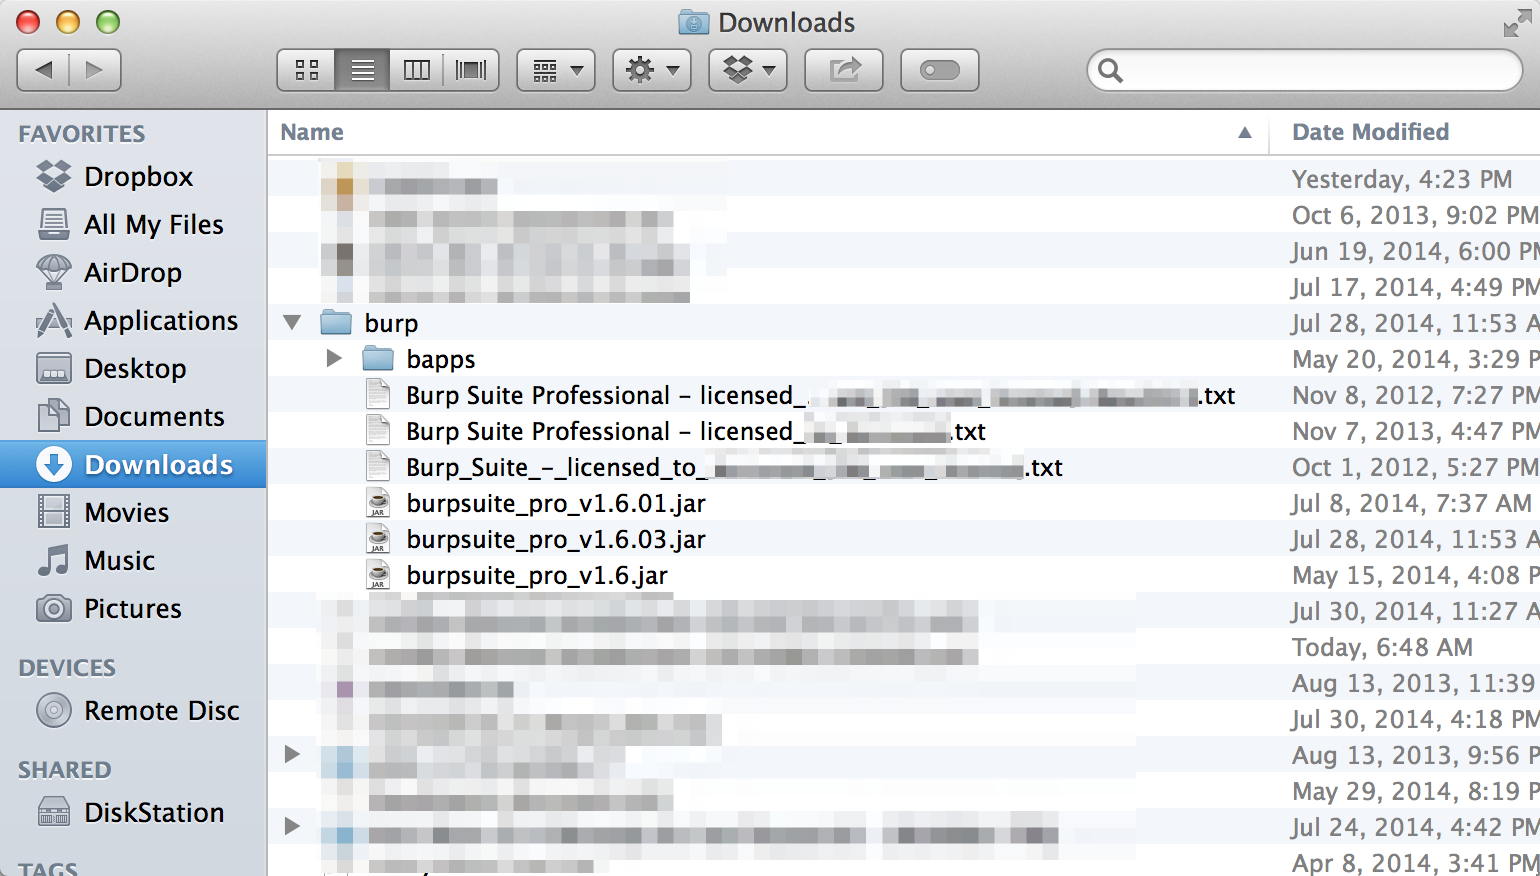
So first, to describe my configuration, I keep the Burp Suite jar files in my ‘~/Downloads/burp/’ folder, as shown here:
I wanted to give a more ’native’ feeling to launching Burp, while still being able to have the additional memory argument (-Xmx1024m for 1024MB memory). I found a decent tool for this, from the VulnHub IRC channel, and a little Googling.
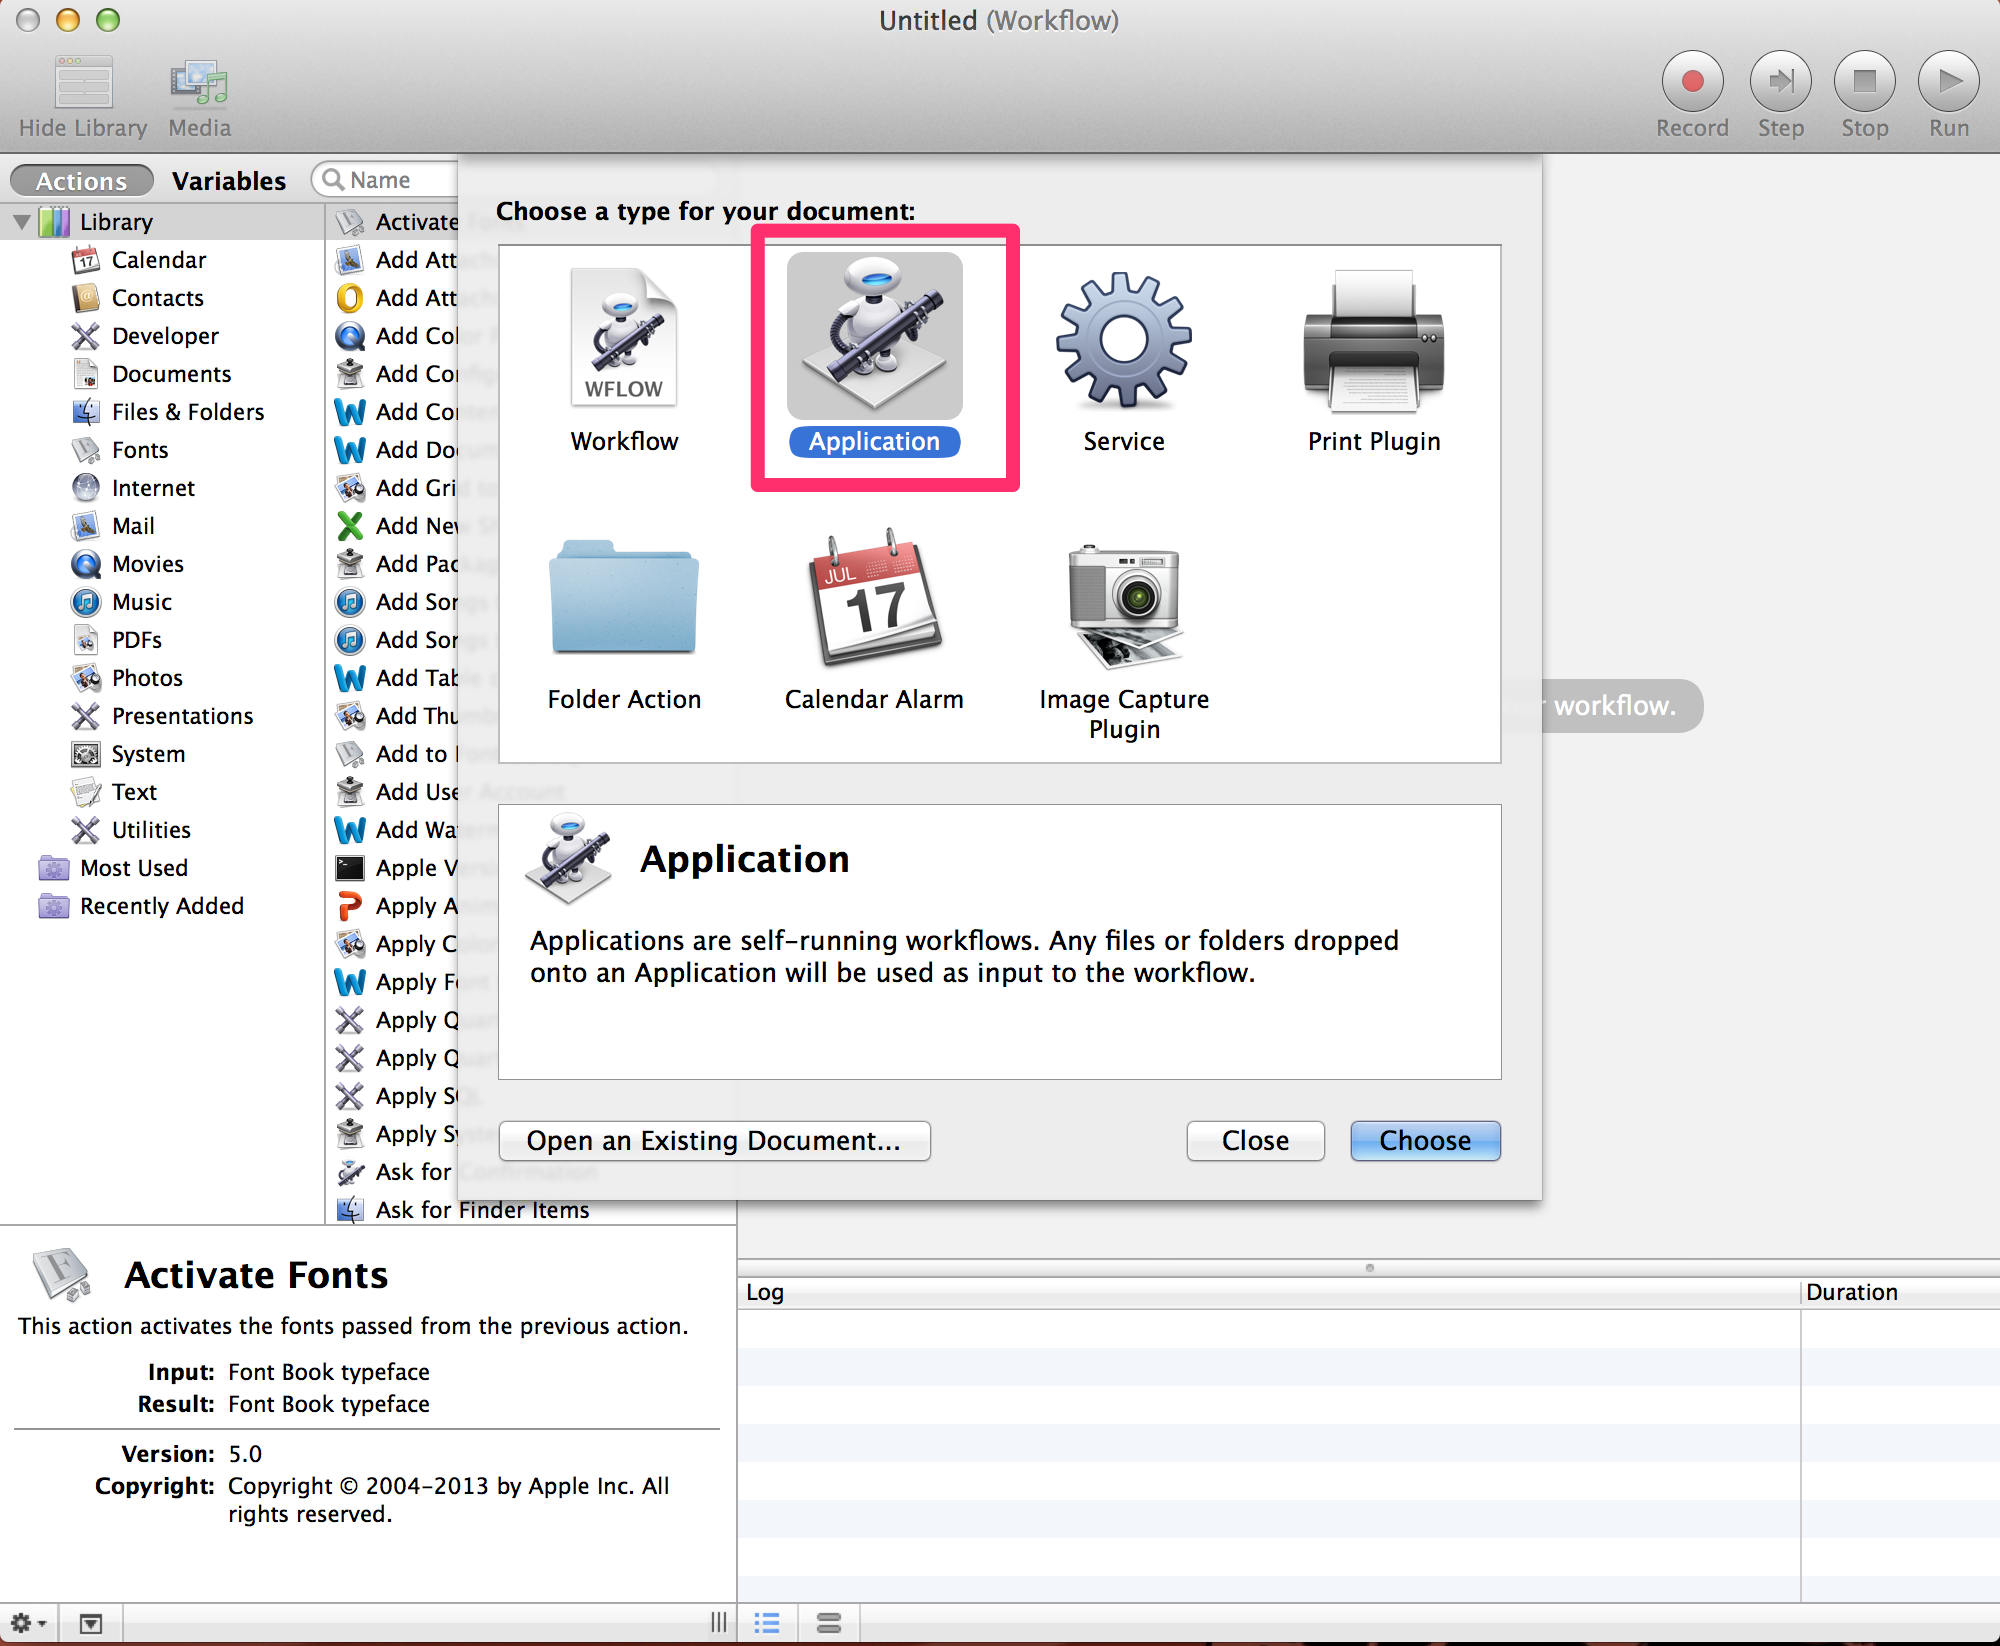
First, open Automator, which comes with Mac OS X (found in Applications or with Command-Space). It should open up prompting you to make a new Automator file, and you want to select an “Application”, so you can run it as if it were a true native application. The screen should look like this:
Automator will let you do a lot of things, but what we want is fairly minimal. Apple has some decent documentation on it as well, if you want to do something more basic. However, for our purposes, select the “Utilities” section, and find “Run Shell Script”. Double-click on it, and you’ll see it add an entry to the main window, like this:
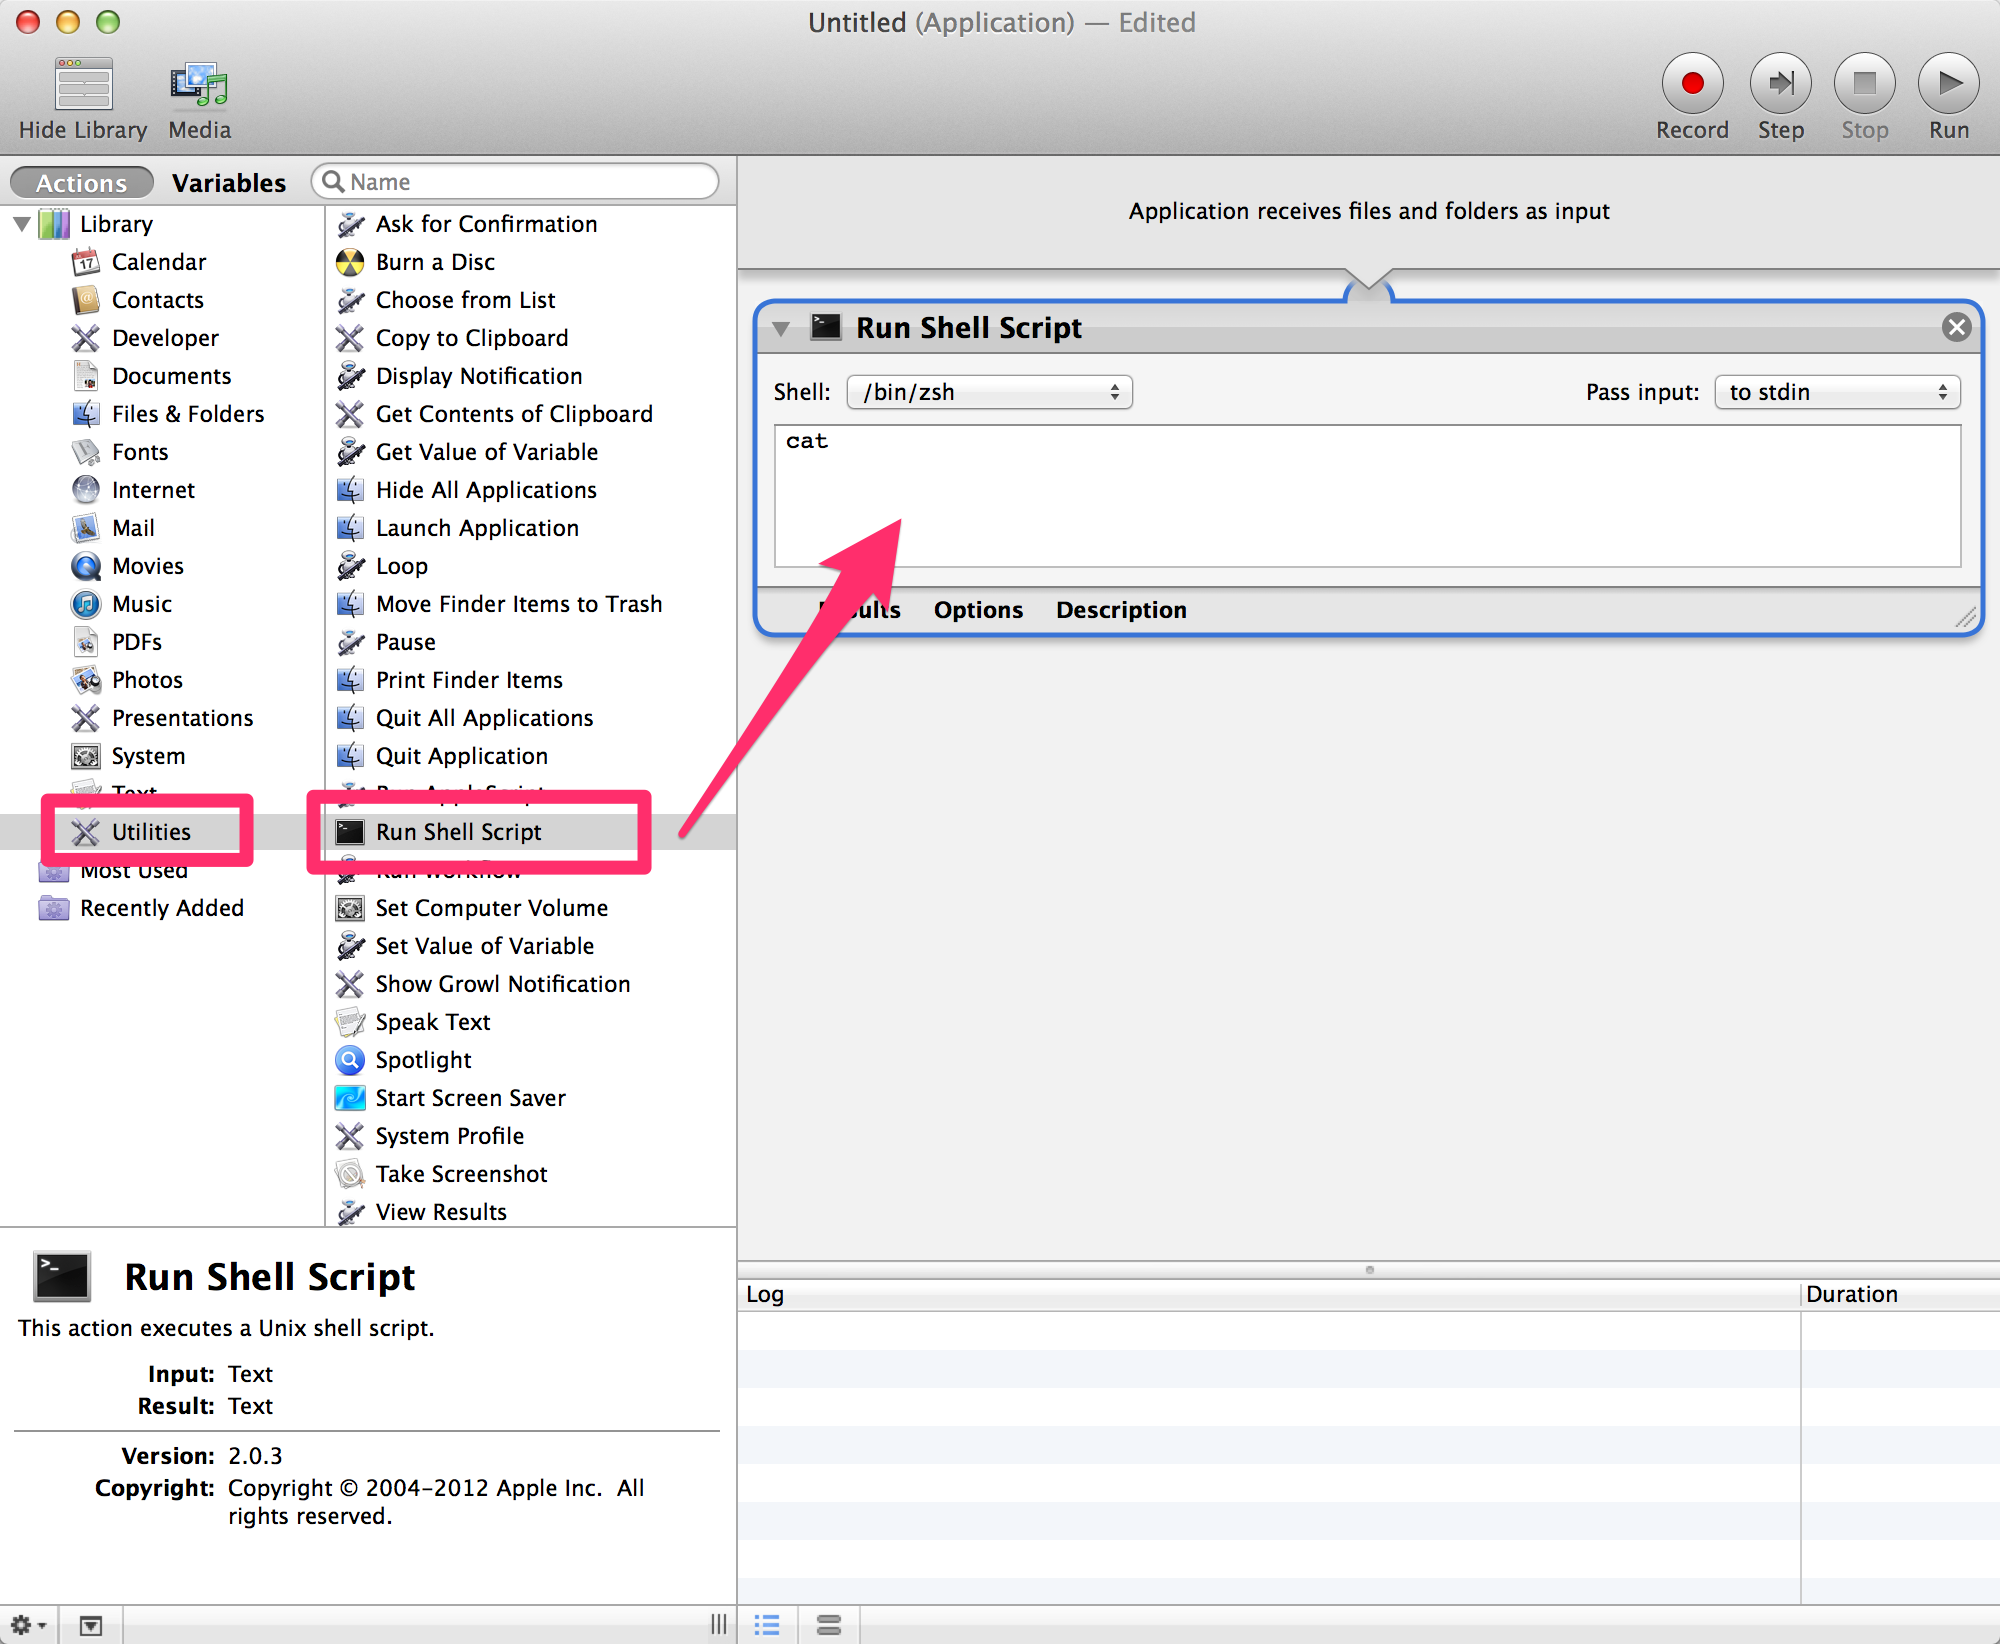
In the “Run Shell Script” window, you can add the command that you want the “Application” to run. For this example, you could use:
java -jar ~/Downloads/burp/burpsuite_pro_v1.6.03.jar
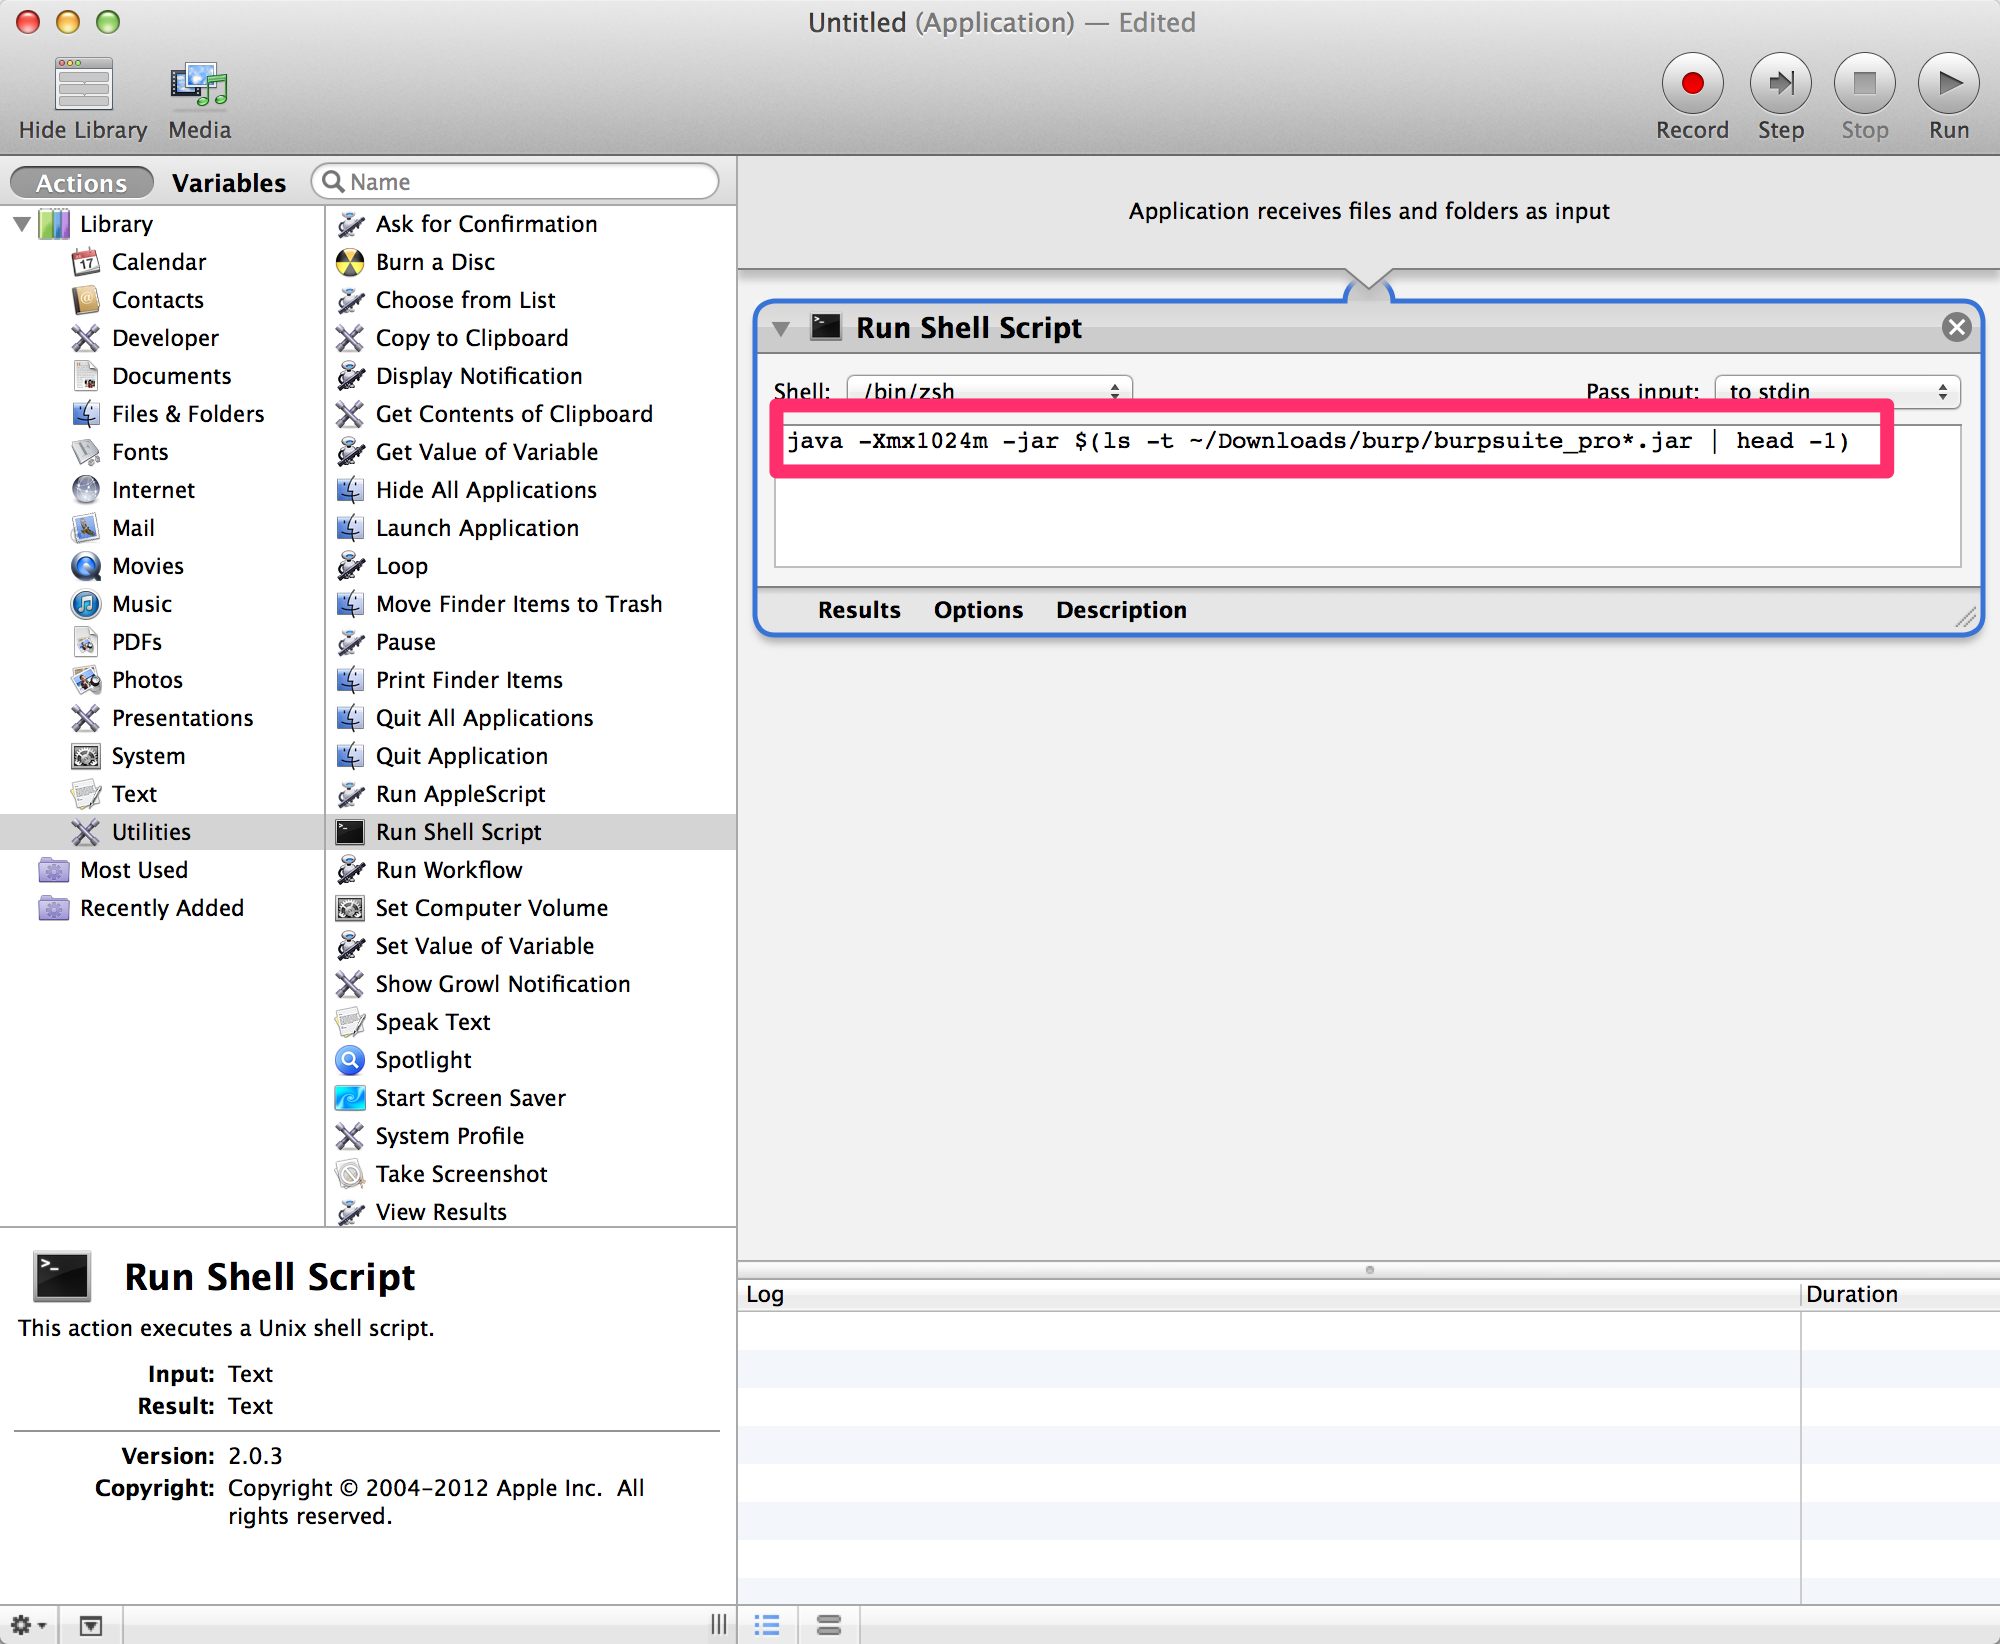
The problem arises, that when Burp Suite auto-updates, it puts a new jar file in the folder, and your “Application” would then not reference it. One approach to solve this problem, would be to look for the newest jar file, and launch it (however this could also have potential security risks, but if someone is putting items in your profile’s filesystem, you have other issues). An example would be:
java -Xmx1024m -jar $(ls -t ~/Downloads/burp/burpsuite_pro_*.jar | head -1)
Now that the application is configured, you’ll want to save it, so you can run it later. Do this by going to File->Save, or hitting Command-S on your keyboard. You can save the application to the “Applications” folder, or anywhere you want. I put mine in “~/Documents” for now.

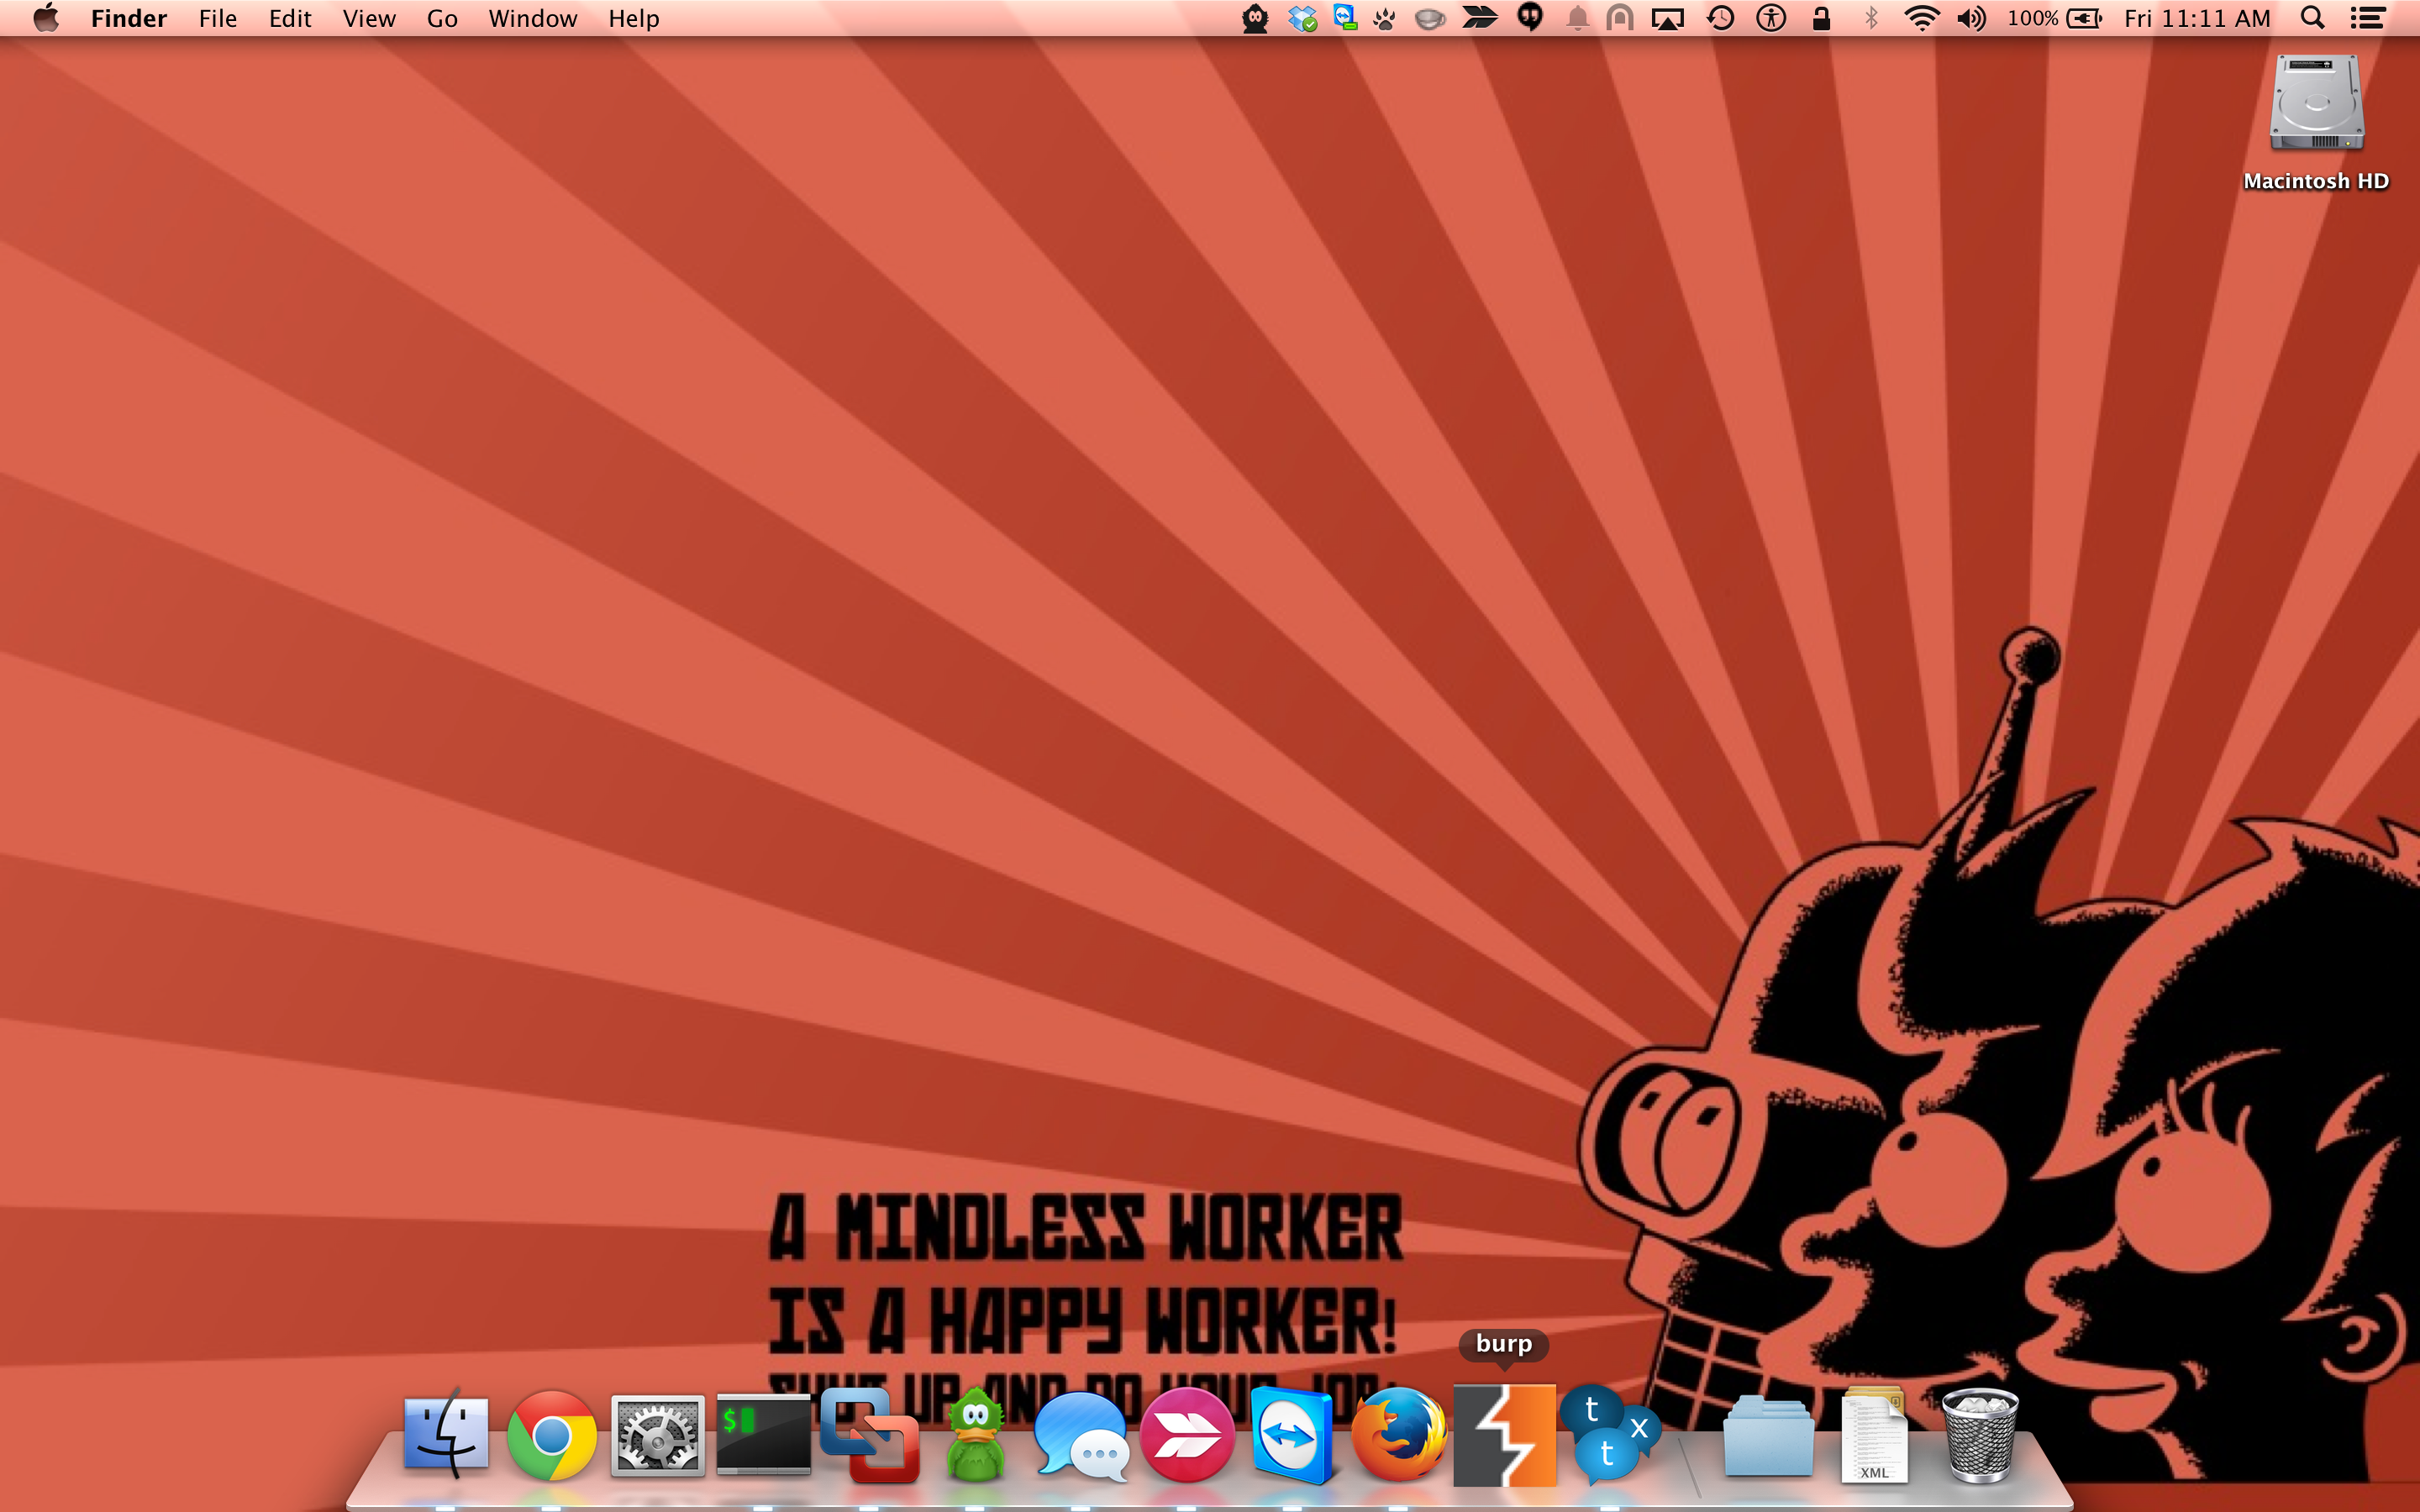
So the next issue I had, was that I could put this application in my Mac OS X dock, but it had the icon for Automator, instead of Burp Suite, which makes it harder to identify, especially if this method is used for multiple applications. I went out to Google Images and searched for “Burp Suite logo”, and found an appropriate png, and saved it to my “~/Documents” folder, next to the “burp.app” we made previously.
To change the icon of the “burp.app” file, you can right-click and select “Get Info”, or simply hit Command-I while highlighting the file. I then also opened the png file in Preview, selected all (Command-A), and copied (Command-C) to put the image in my clipboard.
Then in the info screen for the “burp.app” file, click on the icon in the top left, and paste (Command-P). The image should replace the icon. (If your icon turns into the “PNG” symbol, you probably didn’t open the icon in Preview properly - it happened to me)
Close out of the info screen and the Preview app, and you should see the new icon reflected in Finder. From there, you can drag the “burp.app” file into your Mac OS X Dock, and launch the newest version of Burp without having to remember the command arguments, or opening a shell and pasting in commands.
")